In the first part of the Nakivo tutorial series, we deployed a Nakivo VMware virtual appliance which was an easy, 5 minute procedure. Now, I would like to show you another simple option that makes Nakivo stand out amongst the competition. This option is installing the same product, with the same features but this time, on a Synology NAS. You read that right. I can see so many scenarios where we could put a Synology NAS and Nakivo combination to good use. For example, I know of a backup company which specializes in backup hardware appliances. They use Supermicro servers, add hard drives, and set up hardware raid. They combine nice backup software with a hardware and sell that solution for $20.000+. And that is just an entry model, you can find prices that go way above that number.
Now, would you like to have a backup appliance, but without the hefty price tag? I know I would. Synology can help here. One Synology benefit is that you can easily use a 5-8 bay device which has the same price as a laptop. Add hard drives as well as Nakivo Backup & Recovery and you get an appliance for less than $2,000 (price varies on the device model, disk size, and Nakivo licensing). If you have a little more money in your budget, you can buy a high-end Synology NAS and spend less than $8.000 for a 40TB backup monster. If you need a really fast backup appliance, you can even add SSD drives for caching. When you require additional space, you can easily extend hard drive capacity. If you require reliability, you can add a second NAS to set up a high-availability cluster.
Another Synology benefit is MSP’s can use affordable Synology devices for the cloud backup service they sell. By using Nakivo (which I think is one of the most affordable solutions for MSP’s & cloud backup as a service) and Synology, they can drive the price down.
The third benefit of using Synology NAS devices with Nakivo, is the amount of money we save on power and cooling. The last benefit of the Synology and Nakivo combo is portability. Imagine how many companies can use remote offices for a remote backup repository which can be used for the second copy. You don’t need a special room, you don’t need air conditioning, and you don’t need the electrician.
How to install Nakvio Backup & Replication on a Synology NAS
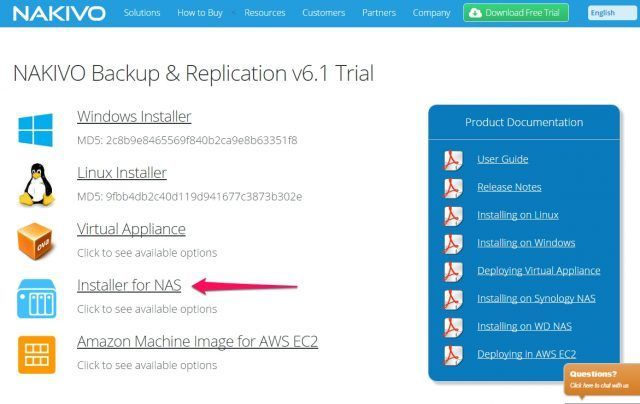
Go to Nakivo trial page and register for a free download. This time, we will click on an Installer for NAS.
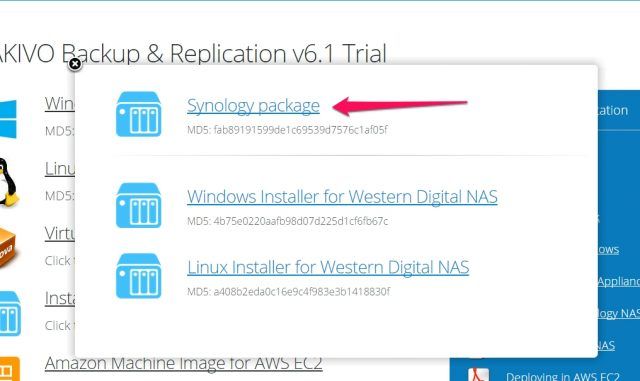
We have an option to download a Synology installer or Western Digital NAS installer. Since we have a Synology device we select a “Synology package”.
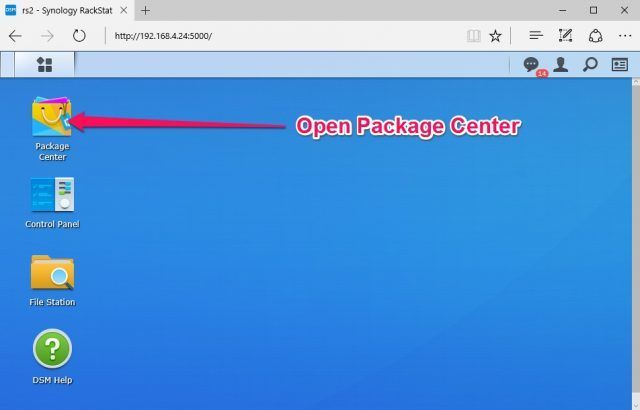
In order to install Nakivo B&R, we have to log in to our Synology NAS first. Go to “Package Center”. Package Center is equivalent to the Mac App store. Here, you can manage and install applications.
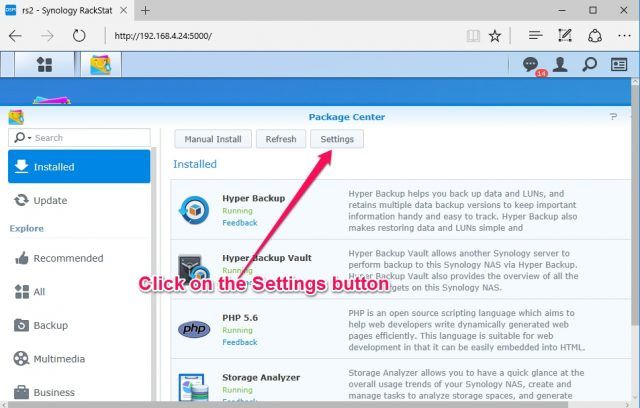
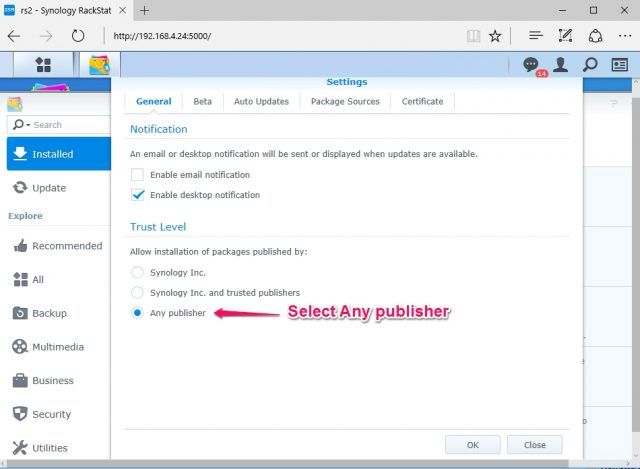
In the package center, click on the “Settings” button.
On the “Trust Level”, click on “Any publisher”. This setting will allow us to install third party applications.
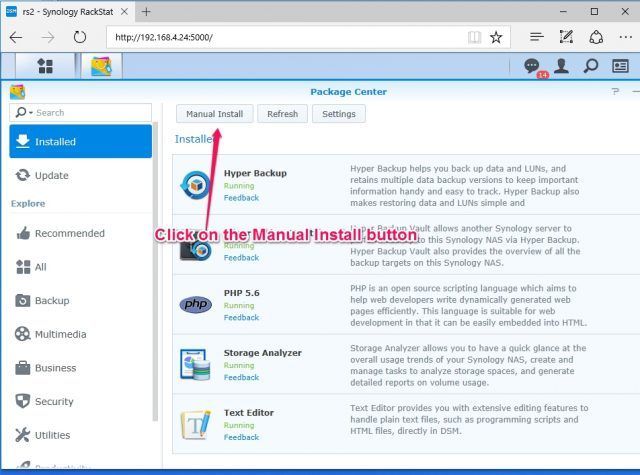
Now we can proceed to package installation. Click on the “Manual Install” button.
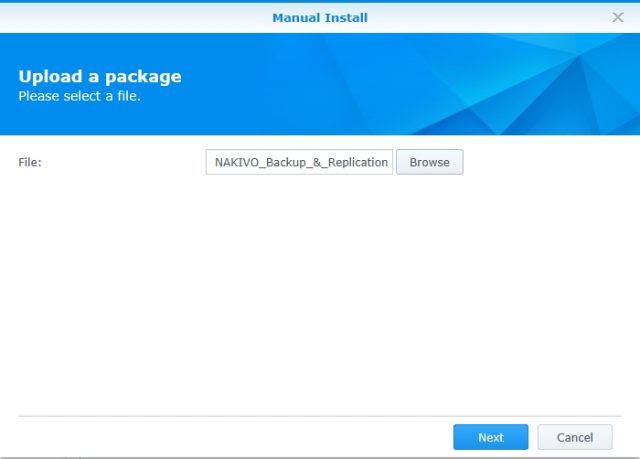
A new window will pop up. We have to select our installation file.
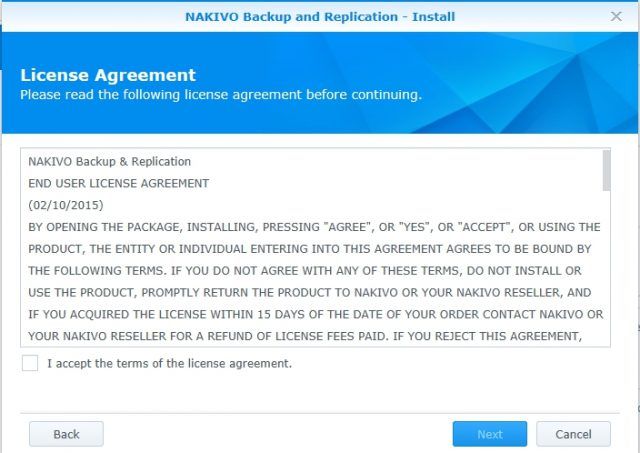
When we press the “Next” button, the Nakivo Backup and Replication “End User Agreement” will show up. Select “I accept the terms of the license agreement.” Click “Next”.
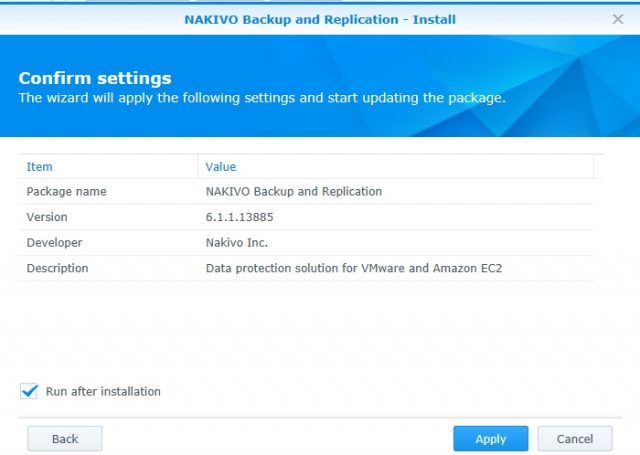
On the next wizard screen, we will see Package name, package version, developer name and Item description. We select “Run after installation” and click on the “Apply” button.
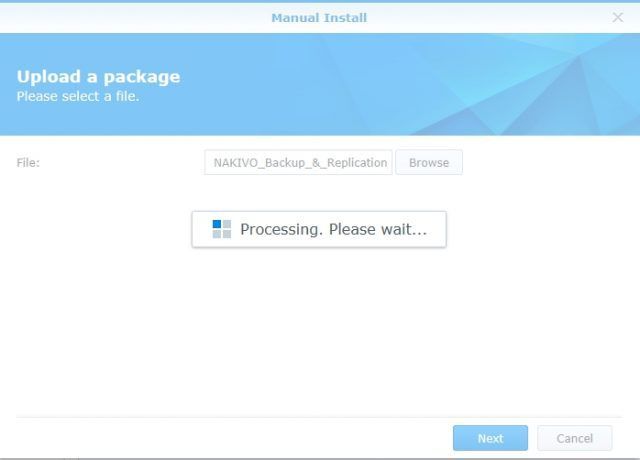
For a moment, we will see a “Processing. Please wait…” message.
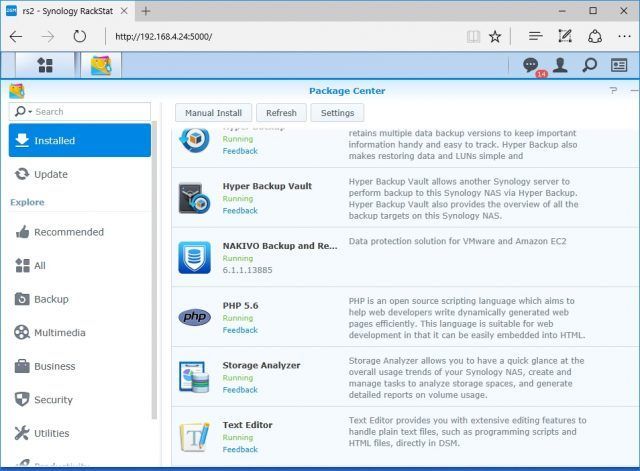
Once the installation is complete, the Nakivo Backup and Replication package will be shown in the Installed Applications window. Here, you can also see the status of the application. Now, the status is “Running”.
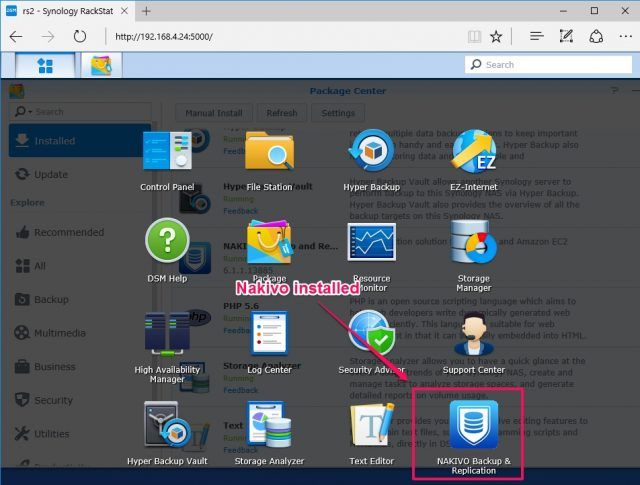
You can access Nakivo either by clicking on the Nakivo Icon in the application screen or you can manually enter the IP of Synology and add 4443 port at the end. For example, if the IP address is 192.168.1.10, then you should enter: “https://192.168.1.10:4443”.
If you clicked on the Nakivo Backup & Replication Icon, a new tab will open and Nakivo Backup & Replication will open. Before you can login, you have to accept the License Agreement.
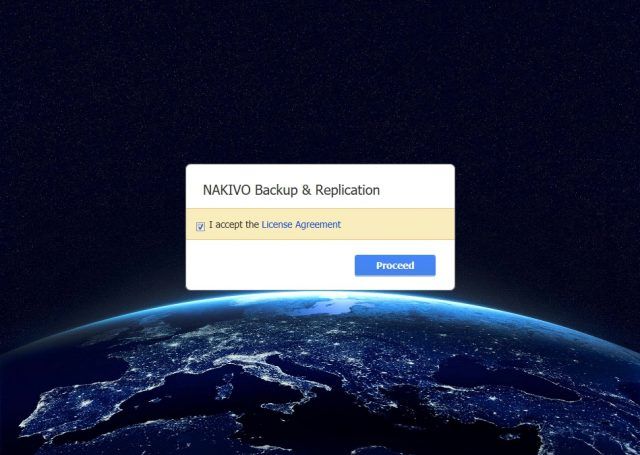
Once you accept the License Agreement and click “Proceed”, you can then log in to Nakivo Backup & Replication.
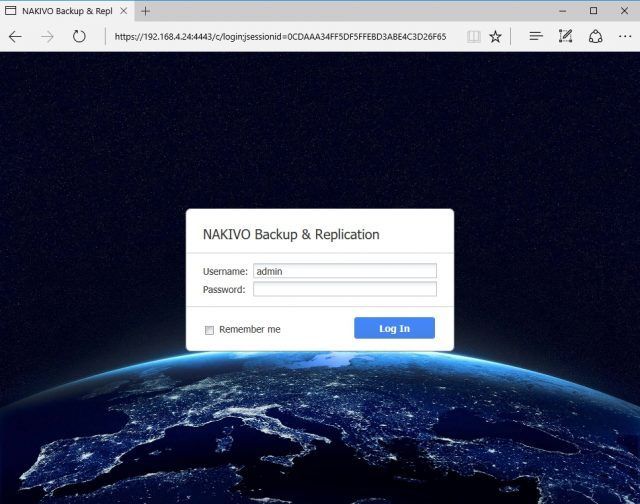
In order to set up a new Backup job, we have to first configure basic settings. Let me assure you that configuration is very simple. First, we have to add our Virtual Center to the Inventory (we have to enter IP and credentials). We also have to add a Repository.

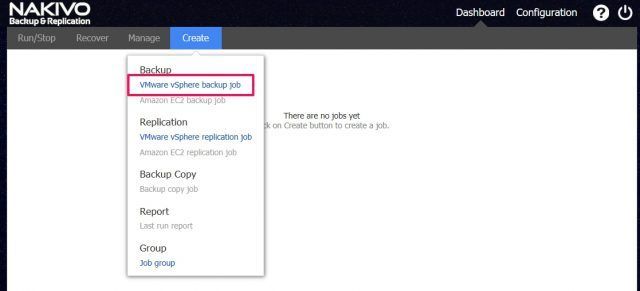
As soon as we have our vCenter and backup repository ready, we can create our first job. Click “Create” and select “VMware VSphere backup job”.
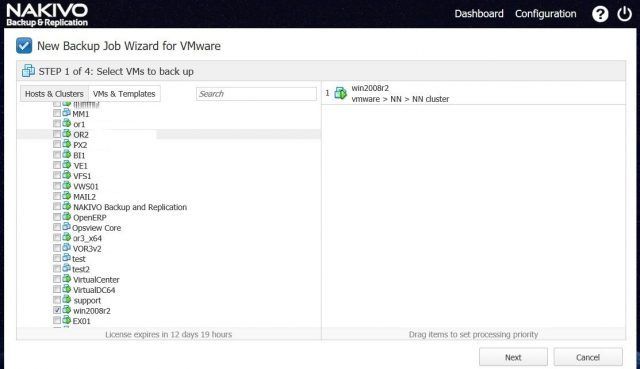
Select a server you would like to backup.
Select a repository if you have more than one.

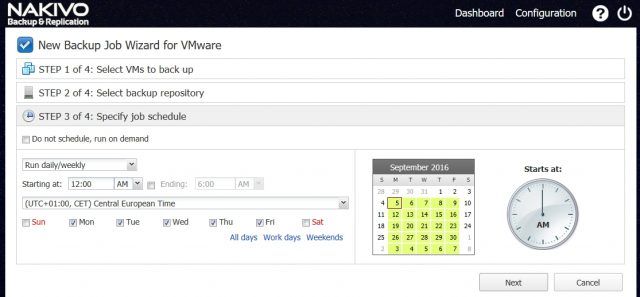
Select a schedule. You can set up a one-time job, or you can create a schedule for the backup. For example, daily backup.
The last step is to select App-aware mode (so that we can restore individual objects in AD, Exchange, or individual files). We can also Truncate Exchange logs, set Data Transfer mode, and set Recovery points retention.
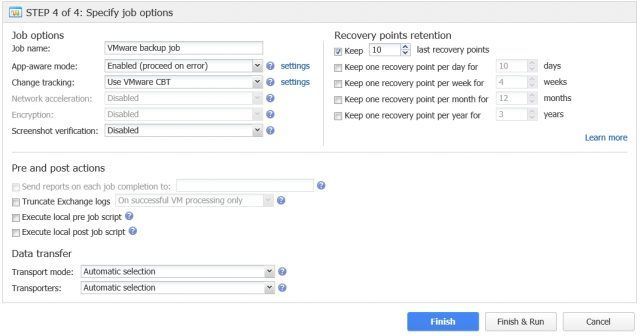
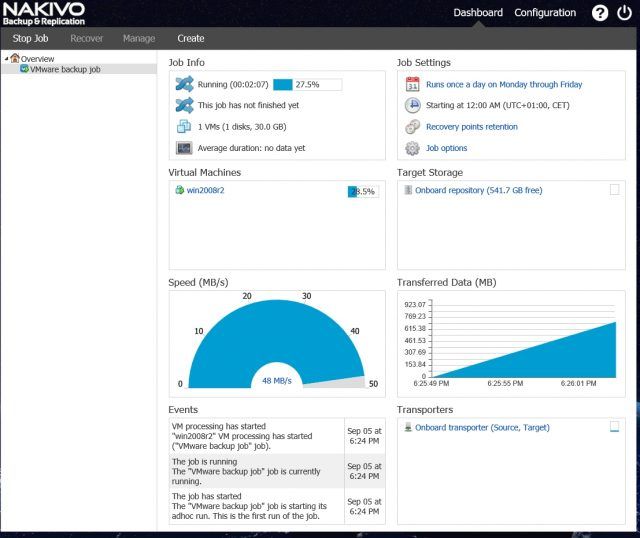
We can click on “Finish” and wait for the applied Schedule to kick in. We can also click on “Finish & Run” if we want to run the job immediately.
Summary
Installing Nakivo Backup & Recovery on a Synology NAS is even faster compared to VMware appliance. I think you can start your first backup job in less than 15 minutes. Synology + Nakivo solution would perfectly meet the requirements of smart SMB companies aiming to get a reliable solution at reasonable price within a short time-frame.
I have to admit, Nakivo on a Synology NAS is my favorite backup solution. Simple, reliable and very affordable.


Leave a Reply