I have written about Nakivo before. I reviewed all major releases and I really believe that Nakivo is one of the best Backup solutions for VMware. That is also a reason, I decided to start a series of Nakivo Backup and Replication tutorials. I would like to show you guys how easy you can protect your virtual environment with one of the best Backup solutions.
Nakivo is available as a standalone solution which can be installed on a Windows or Linux operating system. It is also available for Synology and WD NAS devices. It can be deployed as an Amazon AWS EC2 Image or as a VMware Virtual Appliance. Each of this options has its benefits. The most popular deployment choice is a VMware Virtual appliance.
Using virtual appliance has many benefits. By using virtual appliance you will save money on Windows server licenses. The appliance is based on a popular Ubuntu Linux operating system. Sure you can install Nakivo on a Linux server, but by using a pre-made appliance, you don’t have to. That means you save time. You don’t have to tinker with an operating system first and you don’t have to spend time installing Nakivo Backup and Replication. Third reason is virtual infrastructure. Rather than using a physical server you can deploy the appliance in 5 minutes on the infrastructure you already have. You can start your first backup almost instantly.
How to deploy Nakivo Virtual Appliance
In order to obtain OVF template from Nakivo , we first have to register on their website.
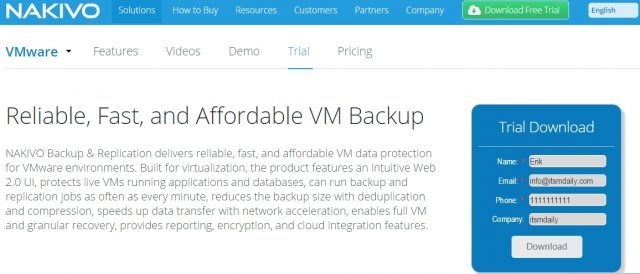
When we click on a Download button, we are taken to the downloads page.
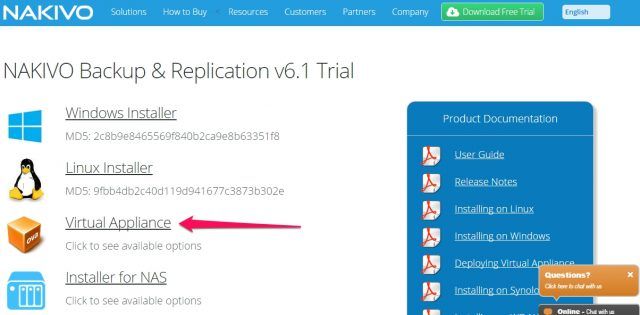
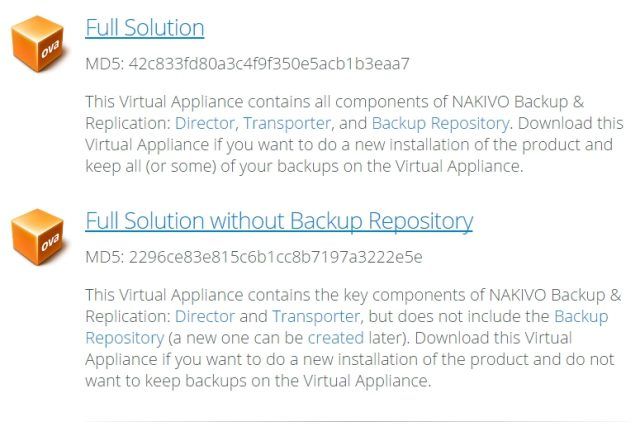
When we click on a Virtual Appliance, a window pop up is shown presenting us several download options. A Full Solution is a virtual appliance which contains all components of Nakivo Backup & Replication:
- Director,
- Transporter
- Backup Repository.
A second option Full Solution without Backup repository includes all the options but is without a backup repository. That means you have to add one later in the appliance configuration.
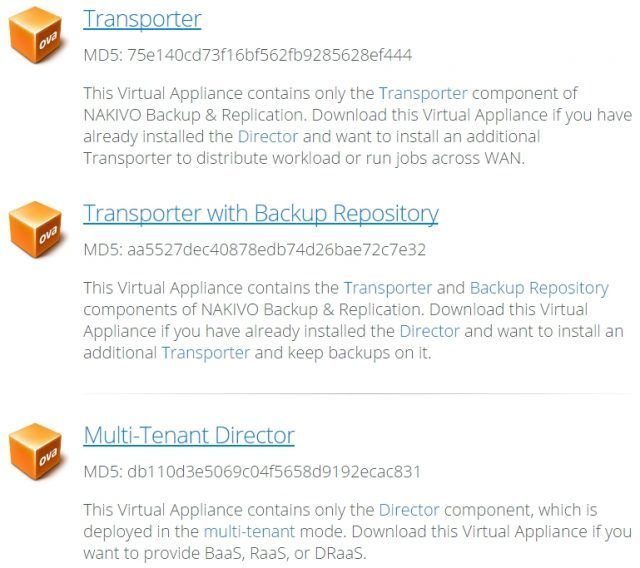
In addition, we can download Transporter only, Transporter with Backup Repository or Multi-Tenant director. We would use Transporter only if we have a secondary location (install on a server) and have a separate backup repository (for example NAS). We would use Transporter with Backup Repository when we want to bundle backup repository on the same infrastructure in the secondary location. Multi-Tenant Director is selected when you would like to provide Backup, Restore or Disaster recovery as a service.
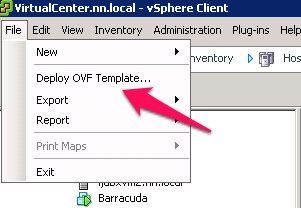
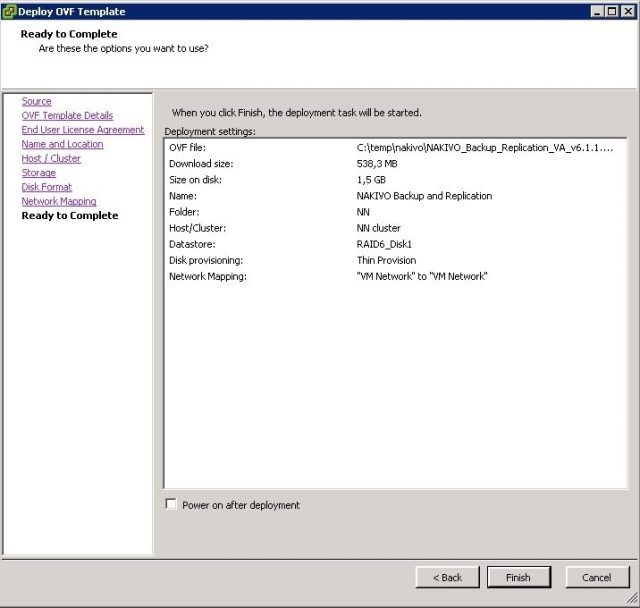
Once downloaded, we open our vSphere Client and deploy the appliance. We go to File – Deploy OVF Template.
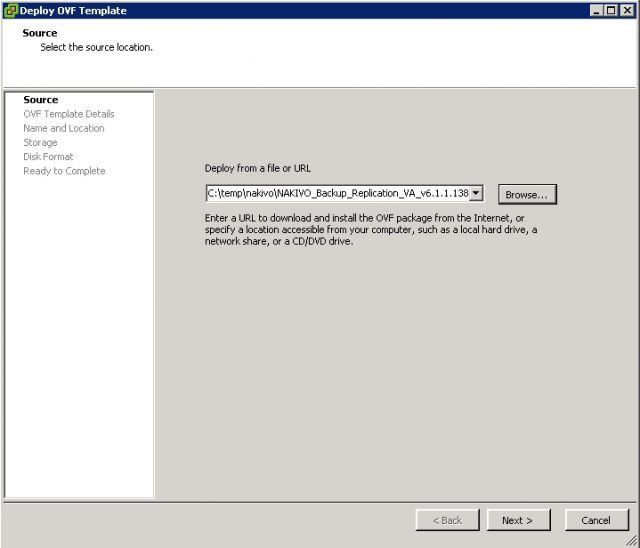
Deployment window is shown where we have to select OVF template.
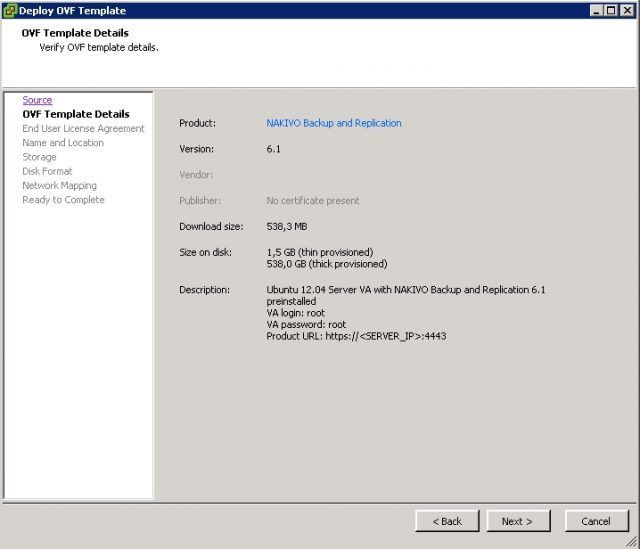
On the Template Details screen, we can see:
- OVF information, including virtual disk size,
- operating system version,
- VA credentials and a product URL which you will use after deployment is complete.
- a product URL which you will use after deployment is complete.
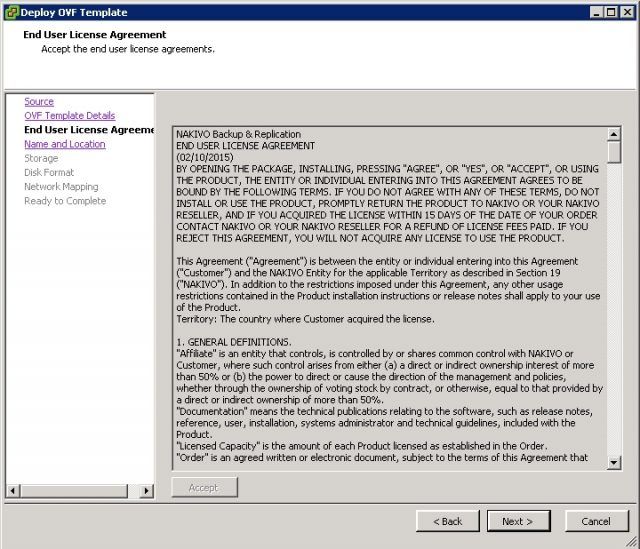
On the next screen, you have to accept End User License Agreement.
You can leave a name of virtual machine default or you can name it to something shorter, like Nakivo or Backup.
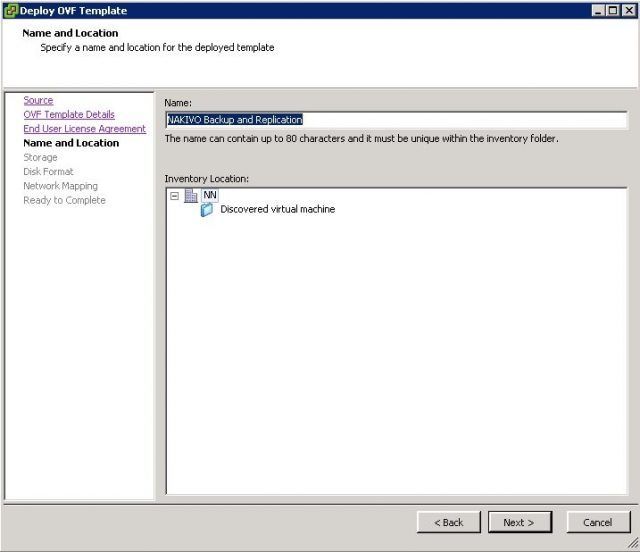
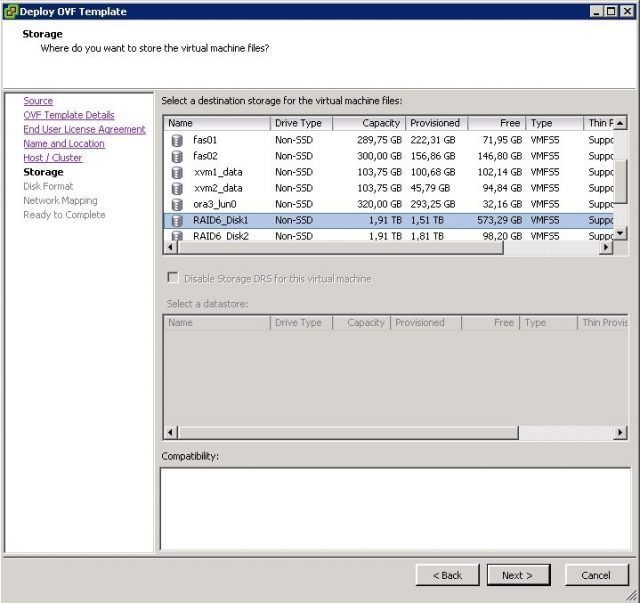
In the next step, you have to select a datastore, where you will deploy an appliance. If you are a bit limited with space, you can install the appliance without storage repository. You can add one later in the installation process.
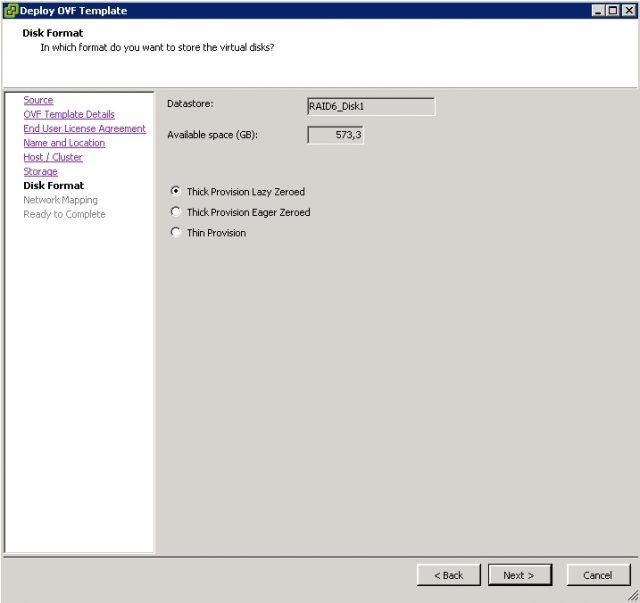
In the Disk format screen, you can select disk format type.
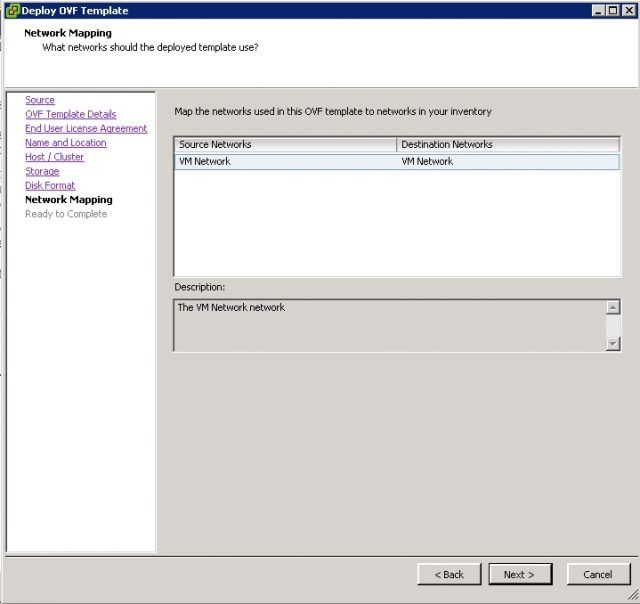
On the Network Mapping screen, you can choose a network if you have more than one.
Once you complete OVF deployment, you can tick a Power On after deployment option, so that the appliance will start immediately.
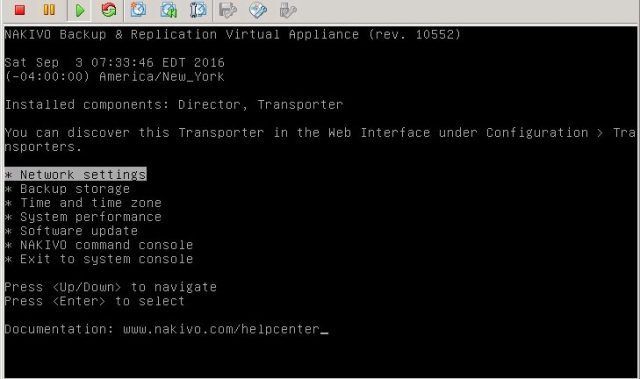
Once Nakivo Virtual Appliance is deployed, we can configure appliance settings by opening the console. By using a console the following appliance settings can be configured:
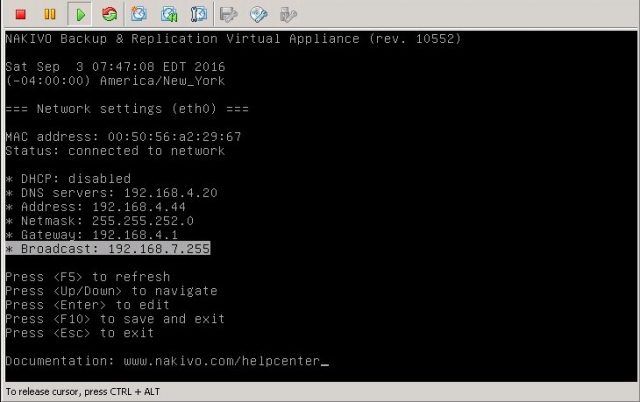
- Network Settings – Here we configure IP, Network mask, and DNS
- Backup storage – we can add additional storage repository
- Time and Time Zone
- System performance – once the appliance is running we can check how much CPU and RAM the appliance is using
- Software update – we can check and install the updates
By default, DCHP is used for network interface, we can change that to static easily.
Backup storage setting is especially important if we downloaded a complete package without storage repository. On the Backup storage settings, we can add new storage or add additional storage repository.
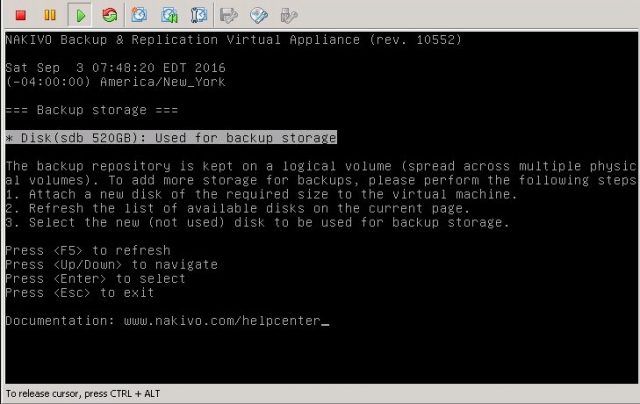
Let’s take a look how easy it is to add a disk drive to the appliance. Go to virtual machine settings and add a new disk. You can store the disk with the virtual machine or you can specify a datastore or a datastore cluster.
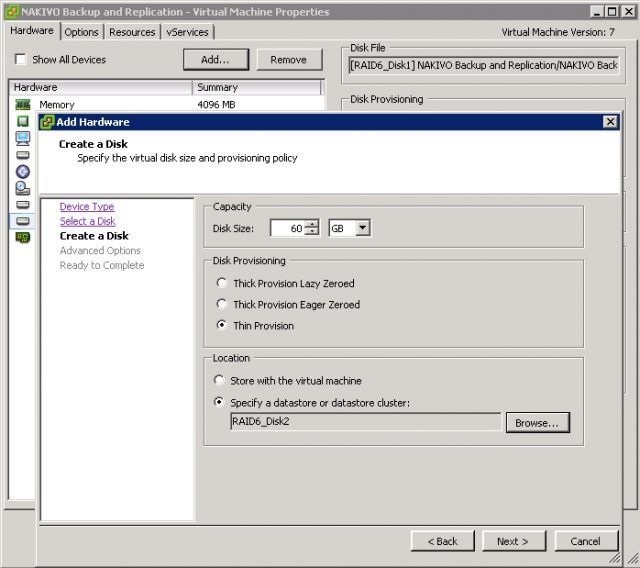
Once the drive has been added to the virtual machine, we have to refresh storage screen by pressing on an F5 button.
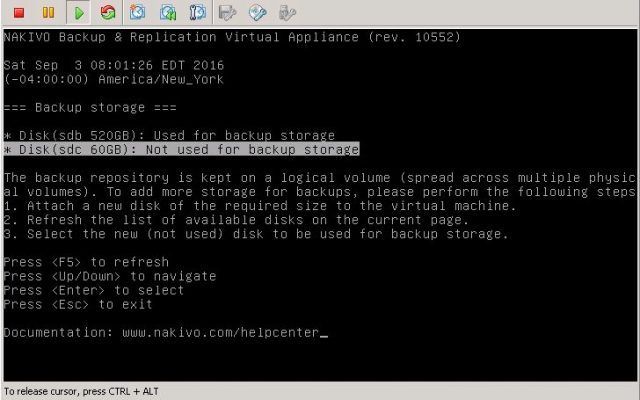
New disk will be detected. Here we can choose what to do with the disk. We can format and use the disk or we can cancel the procedure in case we have to change the disk.
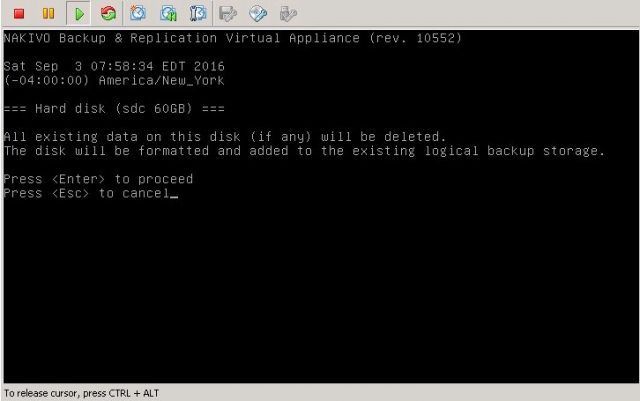
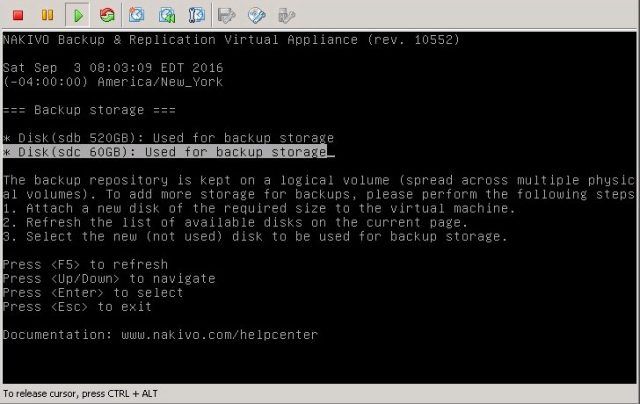
Once a format is completed, the disk is added to the backup storage.
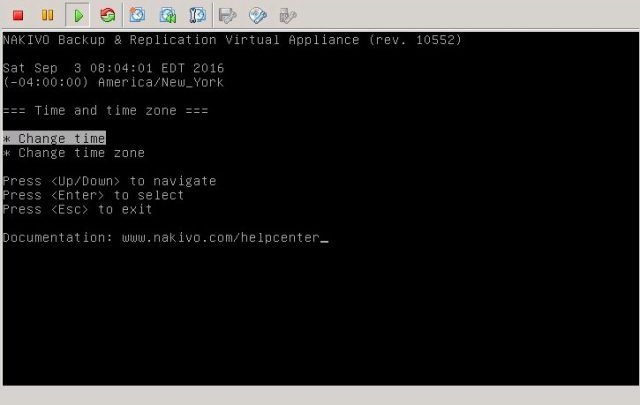
On the Time and time zone setting, we can change time and we can also change a time zone.
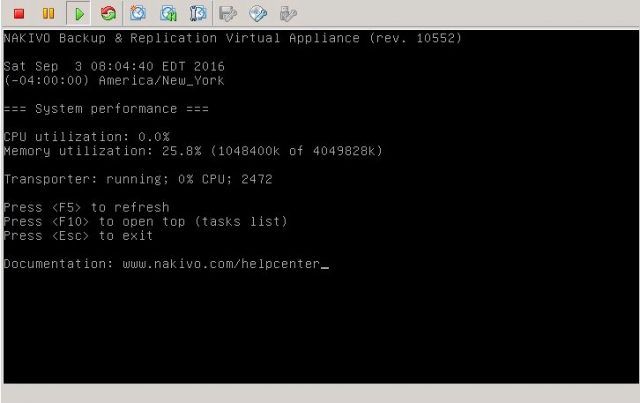
On the performance option, we can see CPU and a Memory utilization.
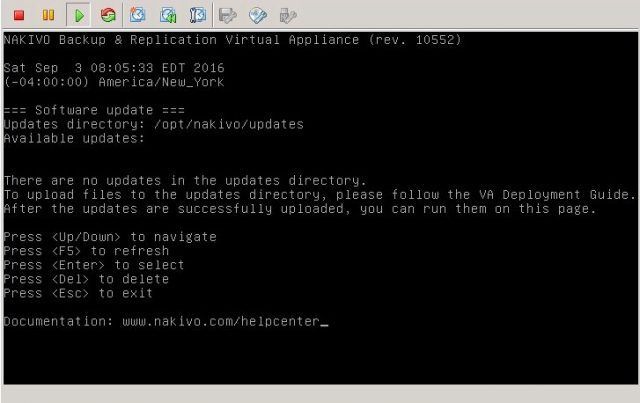
On the updates option, we can check for new updates. Since Nakivo Backup and Replication 6.1 was recently released, there are no updates.
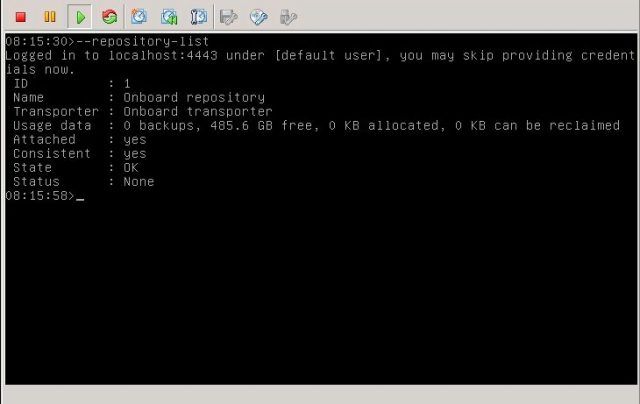
The last setting is called Nakivo Command Console. Here we can use Nakivo commands. We can control Nakivo locally or we can control Nakivo remotely via SSH. Below is the example how we can query repository list by using the following command: –repository-list . Nakivo has many commands you can use. You can find more information and additional commands on the wiki page.
Once the configuration is complete, we can log in to a web interface. We enter IP (obtained via DHCP or entered manually as a static interface)
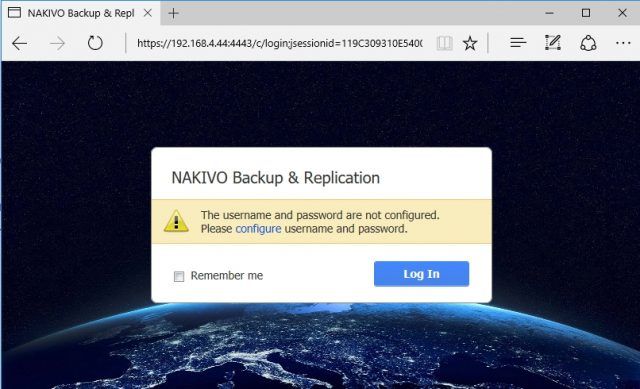
Before we can use Nakivo Backup and Replication we have to set a password.
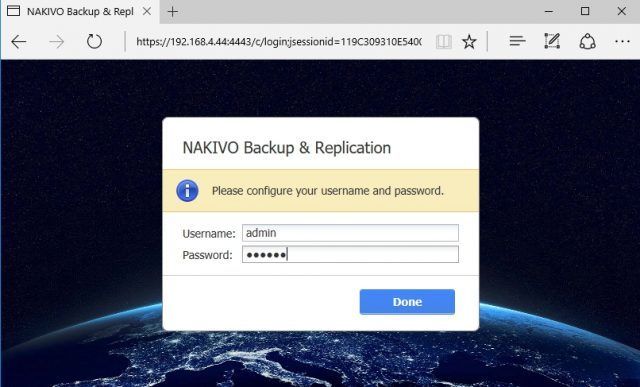
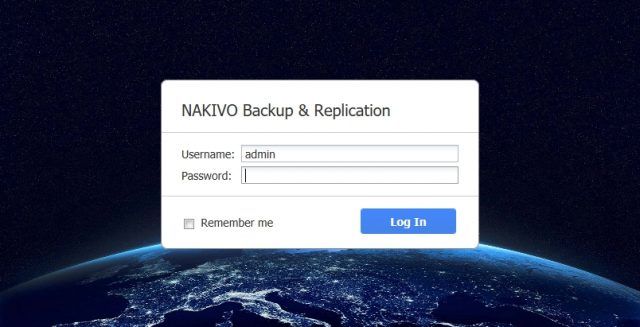
Voila, a login screen is waiting for credentials.
Once the OVF appliance has been downloaded I think that a complete Nakivo Backup & Replication appliance installation and configuration procedure does not take more than 5 minutes.
Summary
Unlike other, Windows-only backup solutions, Nakivo is a very versatile solution. It can be installed on a Windows or Linux OS. In addition, it can be deployed as a VNware appliance or a NAS application. Nakivo can save on the licenses bill, it’s low on resources and most importantly it can save time by installing a pre-made VMware appliance. Stay tuned.


Leave a Reply