Oops!Backup is Time Machine for Windows. Simplicity and reliability. Same experience Mac users have. You see, Mac OSX users have a great backup built right in to the OS. You don’t have to install anything. Just plug in the external HDD drive. Time Machine would ask you if you want to use that drive for the backup and that is it. The best feature of Time machine is restore. You can easily go back in time and choose from all the versions in the history. Altaro Oops!Backup is Time Machine for Windows PC. Unfortunately backup program that is integrated to Windows is not worth a dime, every new version of Windows includes a program which lacks features that the previous version had.
If you are looking for a solid and reliable backup for your windows PC than you have to install a third party program which has better and more features than the program that is built in Windows.
Oops! Backup Review
Oops Backup Set up
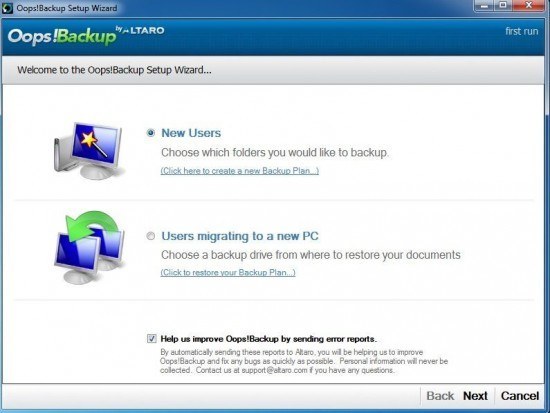
First time you start Oops! Backup you have to choose if you are migrating to a new PC or just setting up a new job.
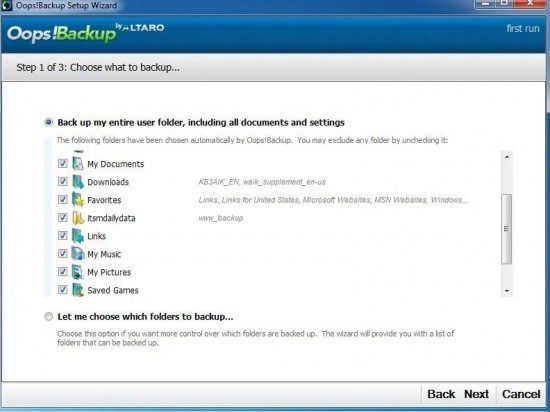
You have two options when setting up a new job with Oops backup. You can choose to backup entire user folder. That means that Downloads, Documents, Pictures, Movies and all the folders that are in the folder User are backed up. If you backup entire User folder you won’t miss any documents or settings of programs that store data to users folder.
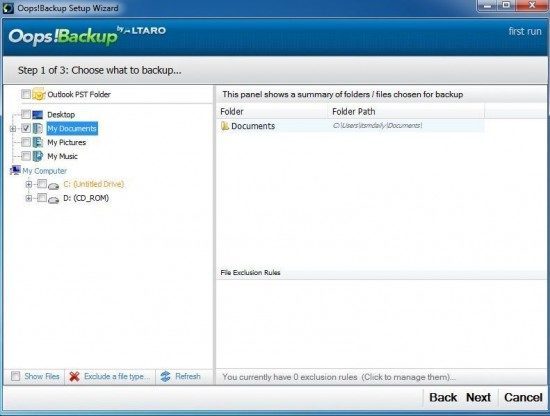
If you are advanced user you can proceed with manual selection.
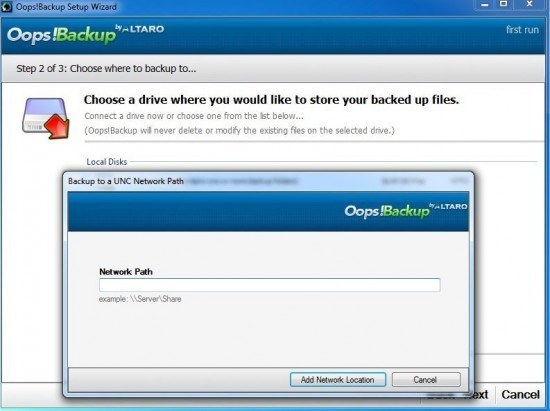
You can select any hard drive as a backup destination, but you can use external network drive as well. Usually people own a NAS drive like a Synology or Qnap where they store backup files.
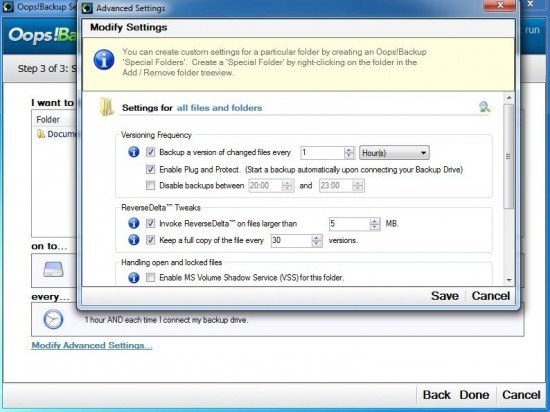
I was really impressed with Oops Backup settings, you can choose backup frequency, versioning and you can enable MS Volume Shadow Service (VSS) for protection of open files. You can set time in minutes, hours or days. You can also exclude certain time from the schedule. Only changed files will be backed up. That’s really great as space won’t get wasted with multiple versions of the same file. 30 versions of files will be kept by the default, but you can increase that based on importance. If you disconnect external backup drive you can enable Plug and Protect, feature that detects if backup drive is connected and starts backing up.
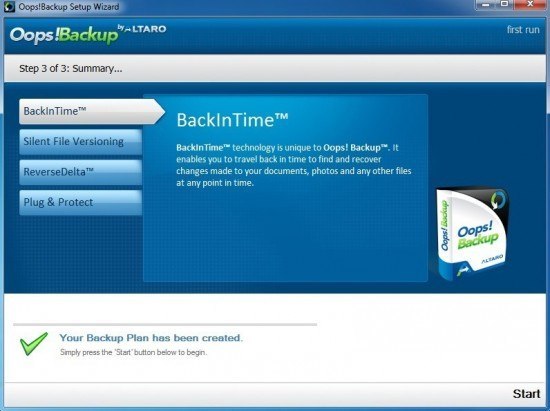
Now that configuration was completed, we can proceed to the dashboard. Press start and that is it.
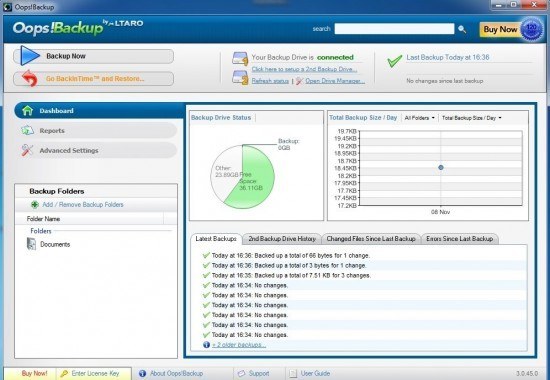
Oops!Backup in use
Dashboard is intuitive, it doesn’t have many buttons to confuse users. One the left side you can run Backup, Restore files or look at reports.
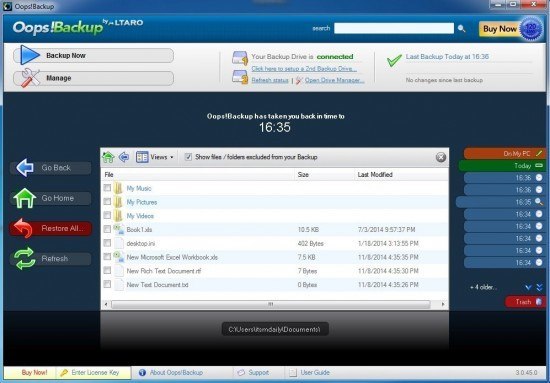
Back in time restore is a feature that deserves the highest praise, with simplicity you can choose the time of restore right from the right side of console, if the file you search for is not the right one, you can easily go back in time and select the file that has the right content – on Windows.
If you are looking for a simple backup solution you can also take a look at:
Are you a Hyper-V user?
Great! That’s all it takes for you to receive 50 free PC backup software licenses (worth $2000) to use or to give away to friends/family.
Get your 50 free licenses here! Unfortunately the offer expired.
More information about Altaro Oops backup can be found here


Schreibe einen Kommentar