Unlike other popular backup solutions, which are Windows-based and can be installed on Windows only, Nakivo chose a different path. One of the many benefits of Nakivo Backup and Replication is multiplatform support. It is so rare these days for any program to be available on multiple platforms. You can install Nakivo on Microsoft Windows, Linux, you can deploy Nakivo as a VMware appliance, Nutanix AHV appliance, Synology NAS, QNAP NAS, Western Digital NAS, ASUSTOR NAS, NETGEAR ReadyNAS, Amazon Machine Image, Raspberry PI, FreeNAS, and even generic ARM-based device. Do you see what I mean? Besides, you can manage the program via the HTML5 WEB interface.
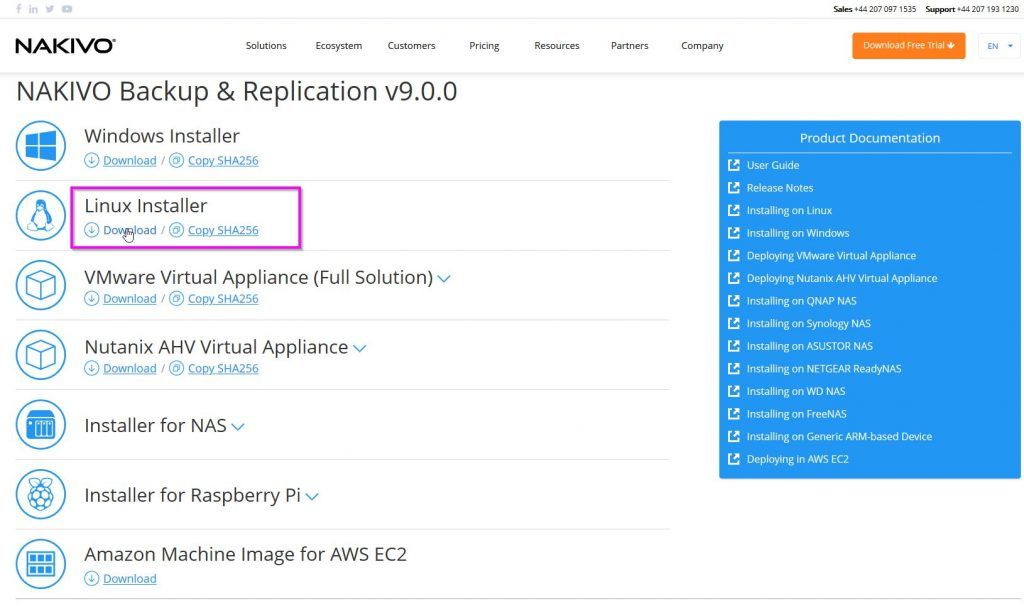
First download Linux Installation from the Nakivo website:

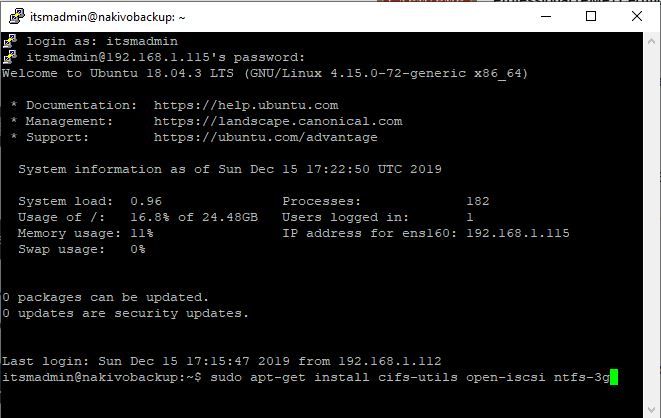
Connect to the Linux server. Before we can proceed with the installation, we have to install prerequisites:
If you are using an Ubuntu Linux, you can type the following command:
sudo apt-get install cifs-utils open-iscsi ntfs-3g
If you are using Red Hat or its derivatives like CentOS, you can use the following command:
sudo yum -y install cifs-utils iscsi-initiator-utils ntfs-3g

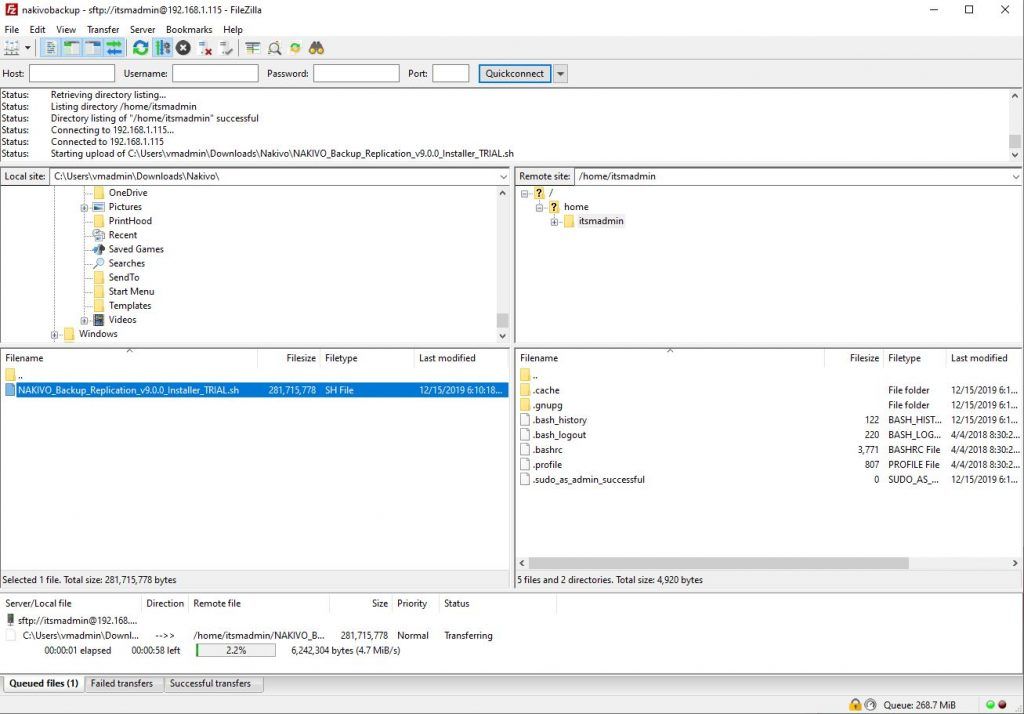
Once the tools are installed, you can now copy the installation file to the Linux server. You can use wget and copy the installation file from the computer share, or you can use FileZilla client to upload the installation file to the server.

First, we have to make the installer executable:
First, list the files, so that you will know the name of the installer. Then, type: chmod +x NAKI and press the TAB button on the keyboard. A correct Nakivo installer name will be automatically populated. Press enter. That will make the installer executable.

You can now run the installer to start the installation process:
*******************************************************
* *
* Nakivo Backup & Replication Installation a
*******************************************************
* *
* Nakivo Backup & Replication Installation and Update *
* *
*******************************************************
Verifying Installer…
Extracting NAKIVO Backup & Replication…
END USER LICENSE AGREEMENT (EULA)
(03/12/2018)
Type ‚Y‘ to accept the license agreement and continue,
‚N‘ to not accept the license,
‚R‘ to review the license agreement.
Do you agree to the terms of this agreement [Y/N/R]? y
Do you wish to install:
– [S] Full solution (single tenant)
– [M] Full solution (multi-tenant)
– [T]ransporter only
[S/M/T]? s
Configuring Director…
Enter install location[/opt/nakivo]:
Director HTTPS port[4443]:
Allow automatic upload of support bundles to NAKIVO support server [Y/n]: n
Transporter port [9446]:
Transporter data transfer ports range [9448-10000]:
Backup repository [/opt/nakivo/repository]:
Installing Director…
Installing Transporter…
Applying configuration…
Registering Updater service…
Registering Director service…
Starting Director service…
NAKIVO Backup & Replication installed successfully.
Almost done
Nakivo Backup and Replication works on port „4443“. Port „9446“ is in use by the Nakivo transporter, so make sure you include ports „4443“ and „9448-10000“ in the firewall rules.
Default path for Backup repository is „/opt/nakivo/repository“ and you can change the path during installation.
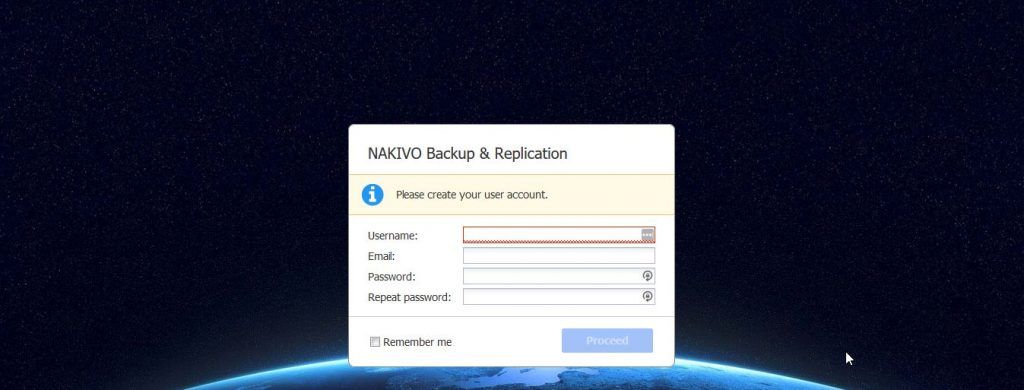
After the installation, you can log in to the Nakivo Backup and Replication by going to the following path: https://name or IP of your computer:4443/ in my case it is the following address: https://192.168.1.115:4443

When you log in for the first time, you have to specify your username, email, and password. Once you enter the data, you can proceed with the backup configuration. The whole linux Installation procedure is very simple, as simple as other options. If you get stuck, you can follow official tutorial on the Nakivo website.


Napsat komentář