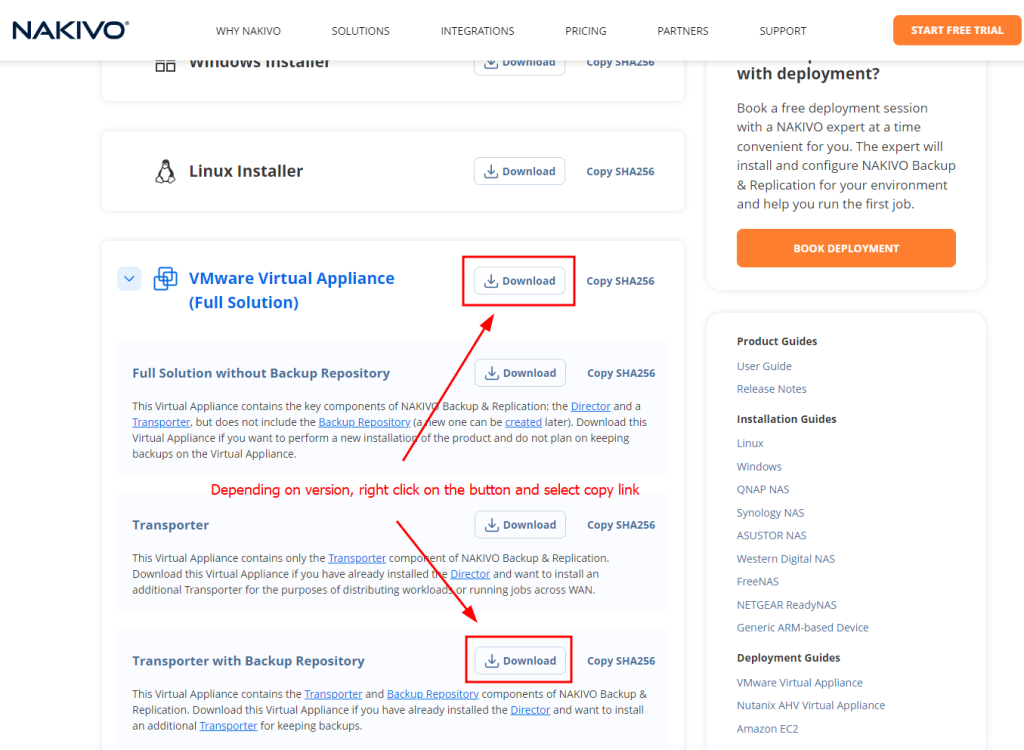
First, navigate to the Nakivo website and click the START FREE TRIAL button. You’ll be presented with several options for setting up your backup repository. Will you use a local repository, or would you prefer a network repository on remote storage, such as a Synology NAS?
In my case, I’ll be using a backup repository on a Synology NAS. Therefore, I’ll select the Full Solution without Backup Repository option during the setup process.
At this point, you might notice that Nakivo doesn’t offer a dedicated appliance for Proxmox VE. Don’t worry—there’s a straightforward workaround. You can simply use the VMware Virtual Appliance instead. Proxmox VE provides a reliable method for converting VMware appliances into the Proxmox (KVM) format.
Here’s how:
- Locate the download link for the VMware Virtual Appliance on the Nakivo website.
- Right-click on the link and select Copy Link.
This approach allows you to integrate Nakivo with your Proxmox environment easily, even without a native „Proxmox appliance“.
o begin, SSH into your Proxmox server. If you’re using Windows, you can do this using the Windows Terminal. Simply type the following command:
Once you’ve successfully logged in, use the following command to download the Nakivo appliance:
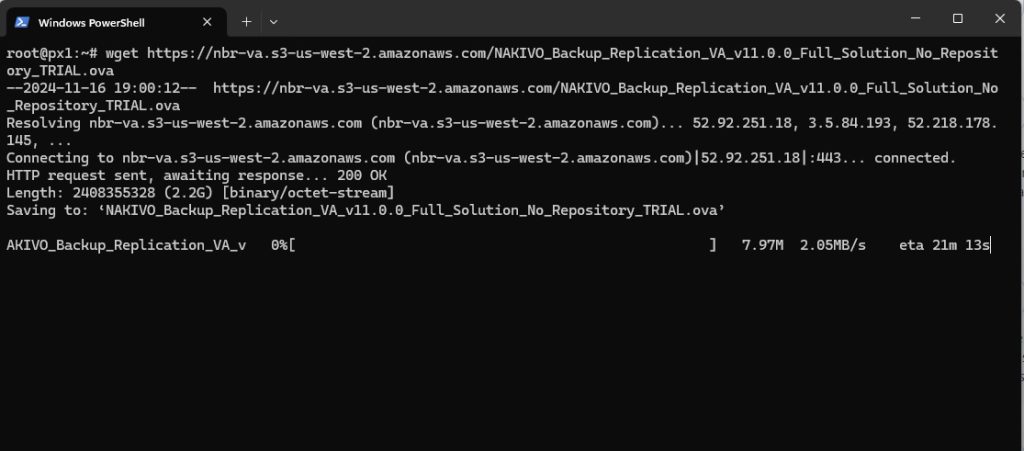
This command will download the Nakivo appliance.
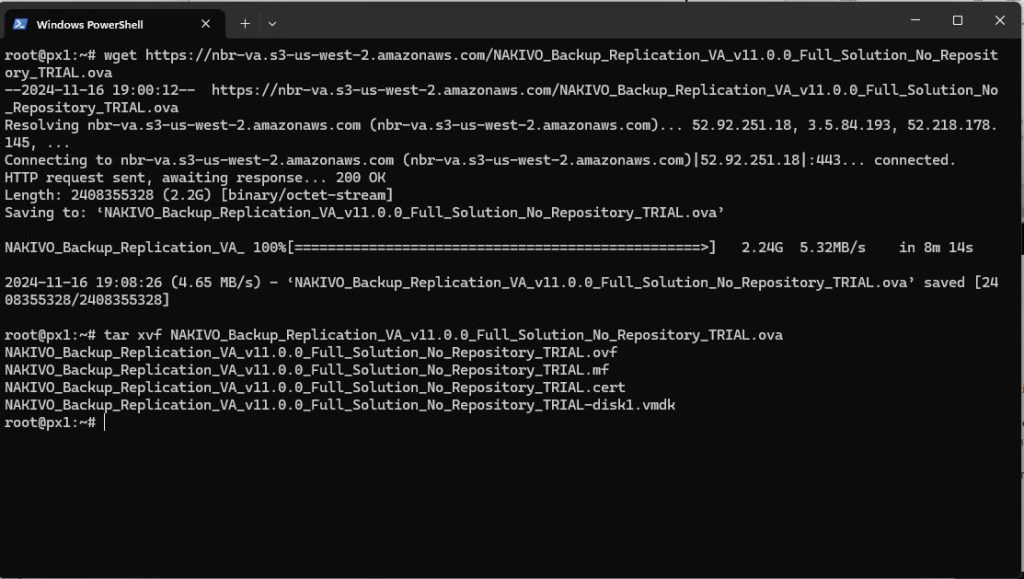
After the download is complete, extract the appliance by entering the following command:
tar xvf NAKIVO_Backup_Replication_VA_v11.0.0_Full_Solution_No_Repository_TRIAL.ova
If a newer version has been released in the meantime, such as a point release, be sure to use the correct name of the downloaded file.
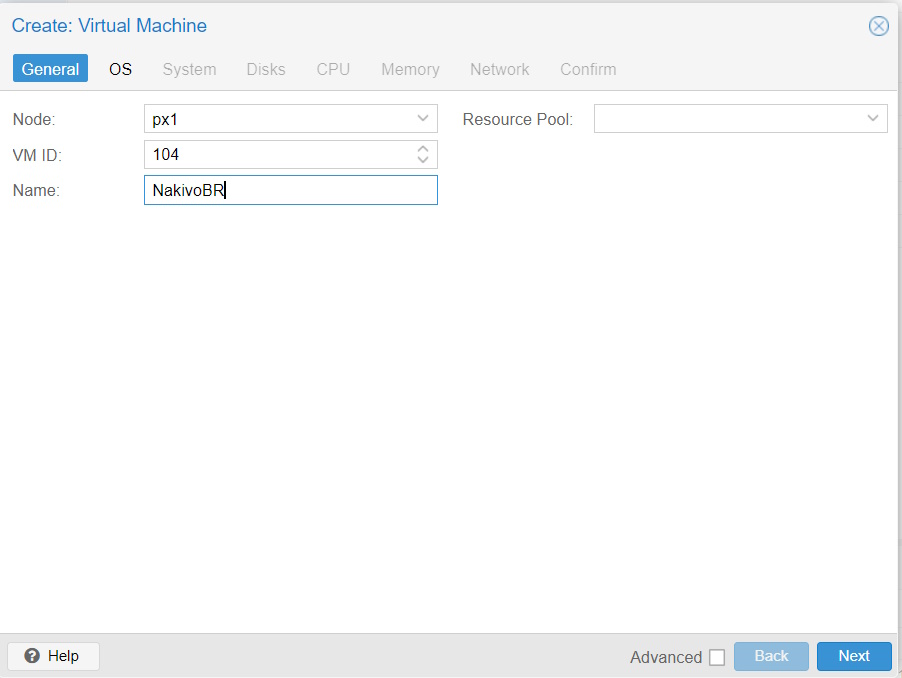
Now, go to your Proxmox web interface and click on Create VM.

You can change the VM ID, enter a name for the VM, and optionally select a resource pool. Then, click Next.
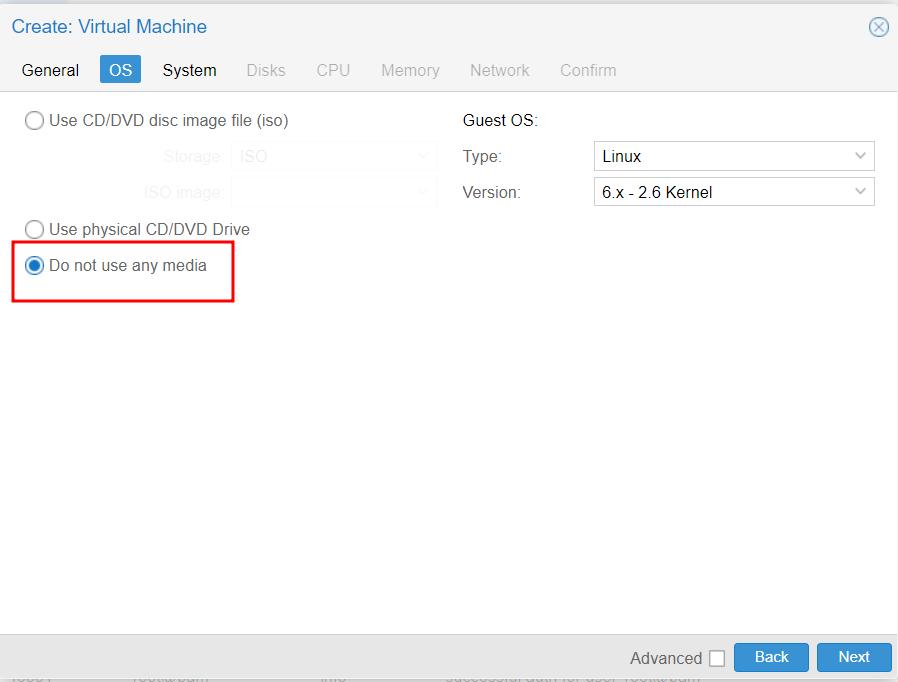
On the OS tab, select Do not use any media, and click Next.
You can leave the settings at their default values or adjust them according to your requirements. Then, click Next.
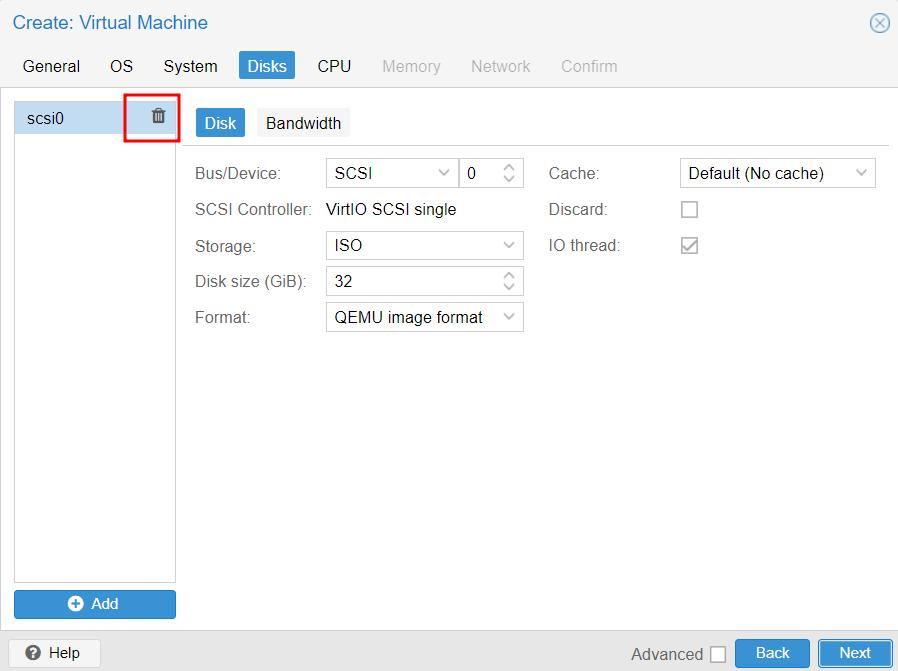
Since we will be using a downloaded appliance, you can remove the pre-selected disk. Then, click Next to proceed.
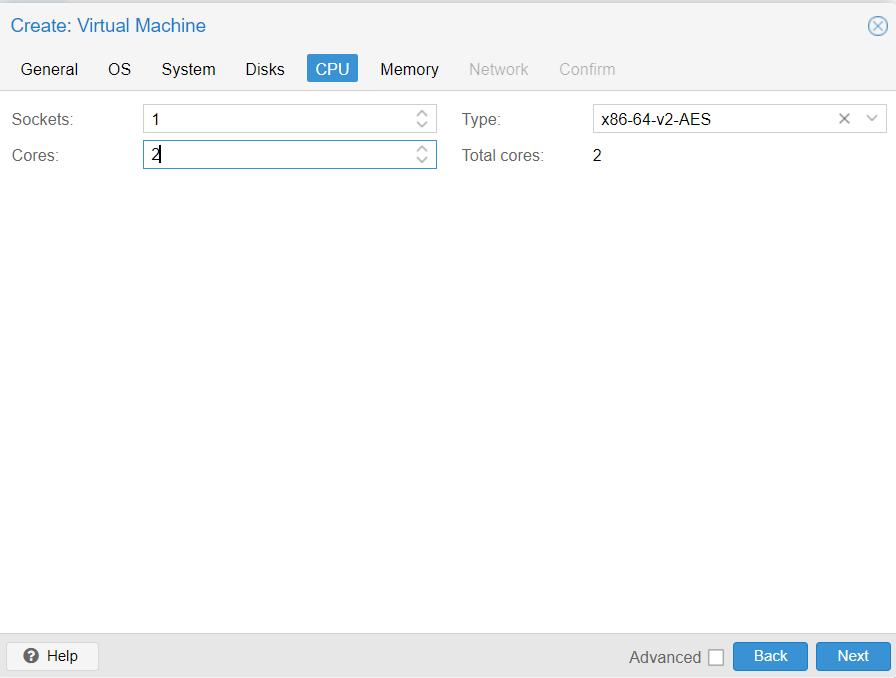
Here, you can configure the number of sockets and cores. Since this is for lab use, I will set it to 2 cores. Click Next to continue.
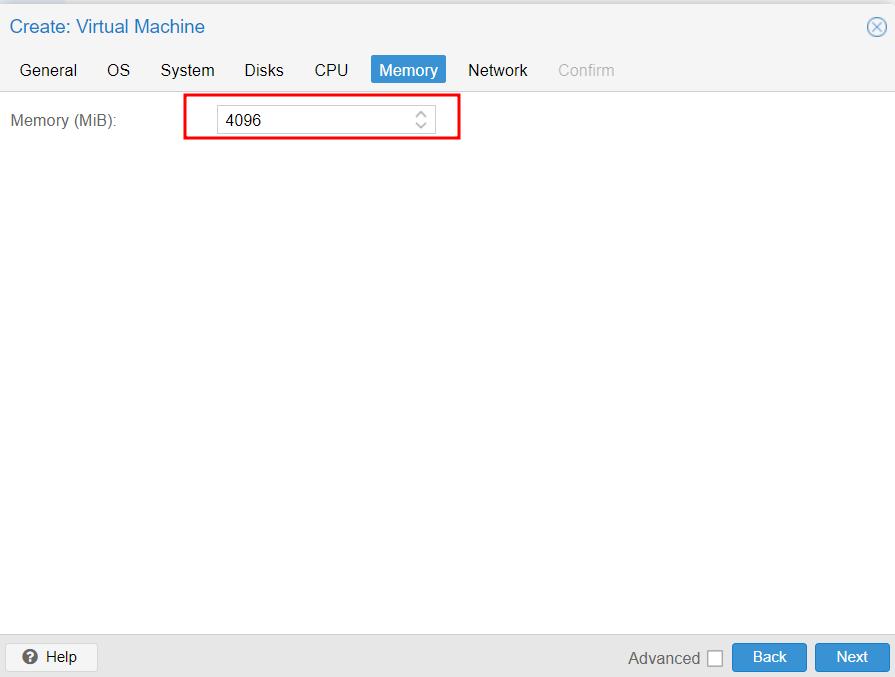
In the Memory tab, you can configure the memory allocation. For this lab, I will set it to 4GB, as it’s an ideal size. You can adjust the memory later if needed.
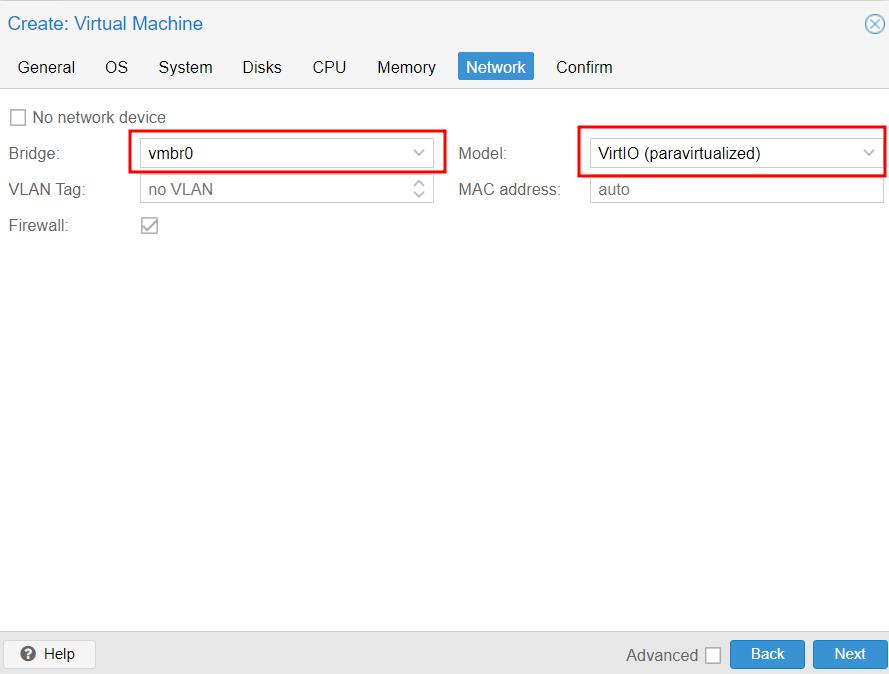
In the Network tab, you can adjust the network settings. Select Bridge and choose the network card model. VirtIO is recommended for optimal performance. However, if you encounter any network issues, you can switch to ‚Intel E1000‘ to ensure the appliance functions correctly and address the problem later. Click Next to proceed and confirm the new VM.
You should now see the newly created VM in the Proxmox VE interface.

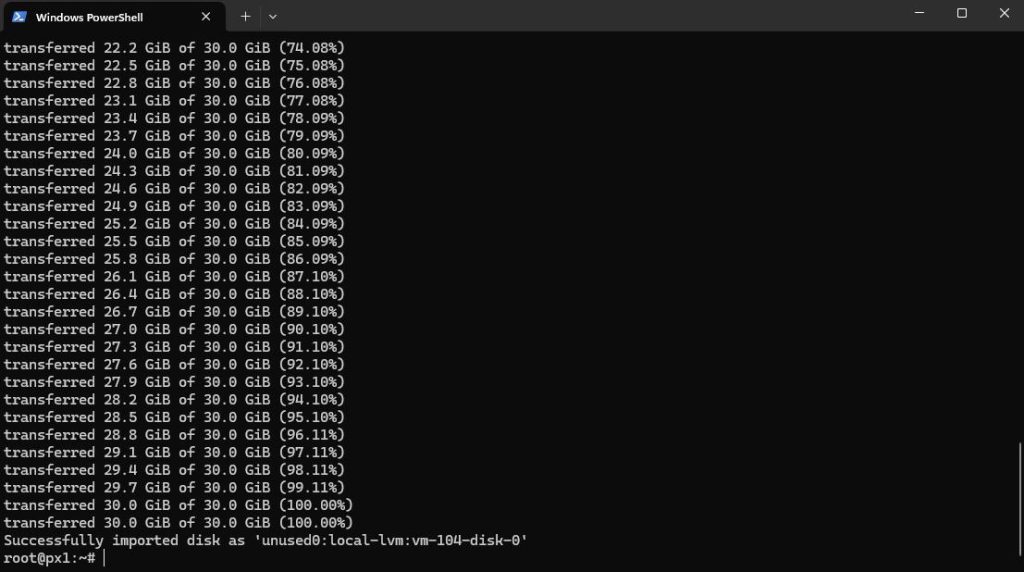
Next, we need to import the converted Nakivo appliance into the VM. Open the terminal and run the following command:
qm importdisk 104 NAKIVO_Backup_Replication_VA_v11.0.0_Full_Solution_No_Repository_TRIAL.vmdk local-lvm
where 104 is your VM ID and local-lvm name of the storage repository on your Proxmox VE.
Open the Proxmox UI and confirm the disk settings. Select the Nakivo VM, navigate to the Hardware tab, and locate Unused Disk 0. Change the Bus/Device type to SATA to improve performance when using multiple virtual disks. Then, click Add to apply the changes.

The final step is to navigate to the ‚Options‘ tab and configure the boot order settings.

Deselect CD-ROM and Network, then select SATA0 as the boot device. Click OK to save the changes.
You can now start the Nakivo VM.

Click Start to power on the VM, then open the Console to monitor its status. Once the VM has booted, you can proceed to configure the network settings for your Nakivo VM.

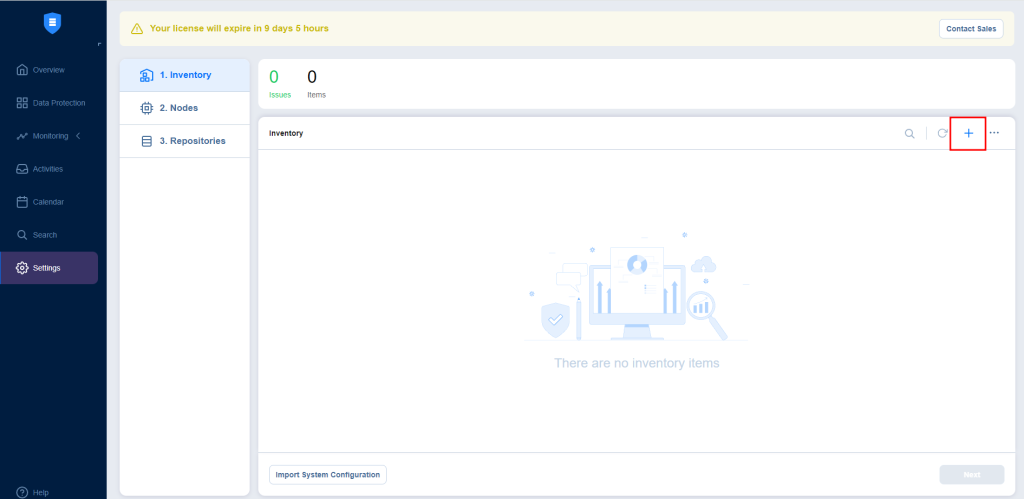
In the Nakivo VM console, you will see the IP address assigned by DHCP. Open a browser and navigate to the Nakivo web interface. Create a username and password. After logging in, proceed to configure the Inventory, Nodes, and Repositories. If you have entered static IP, enter the one you have dedicated to the VM appliance.
Click on a plus sign, to begin.
Select Virtual and click Next.
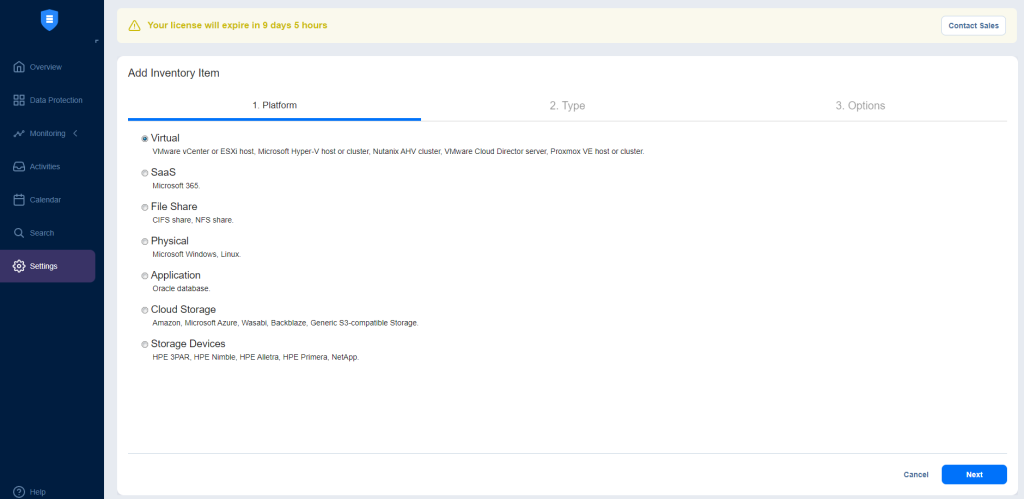
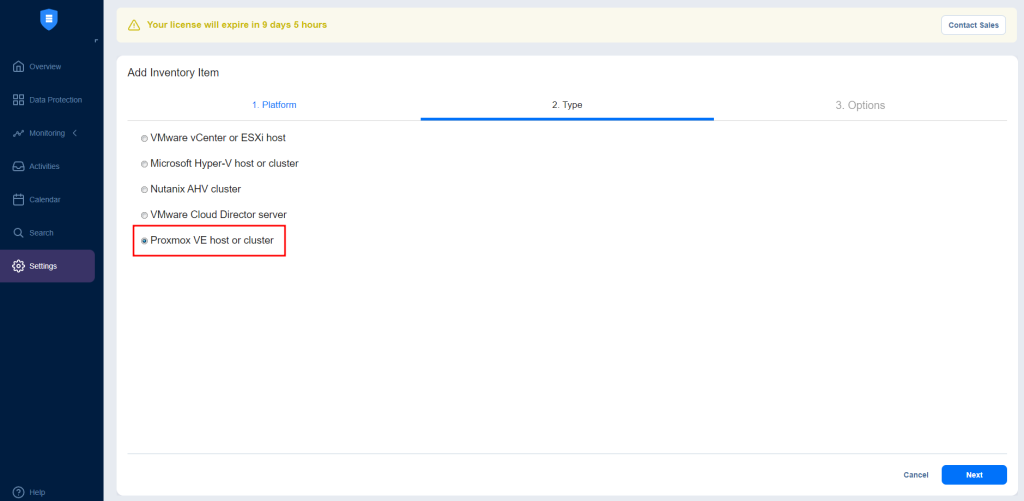
Choose Proxmox VE host or cluster, click Next.
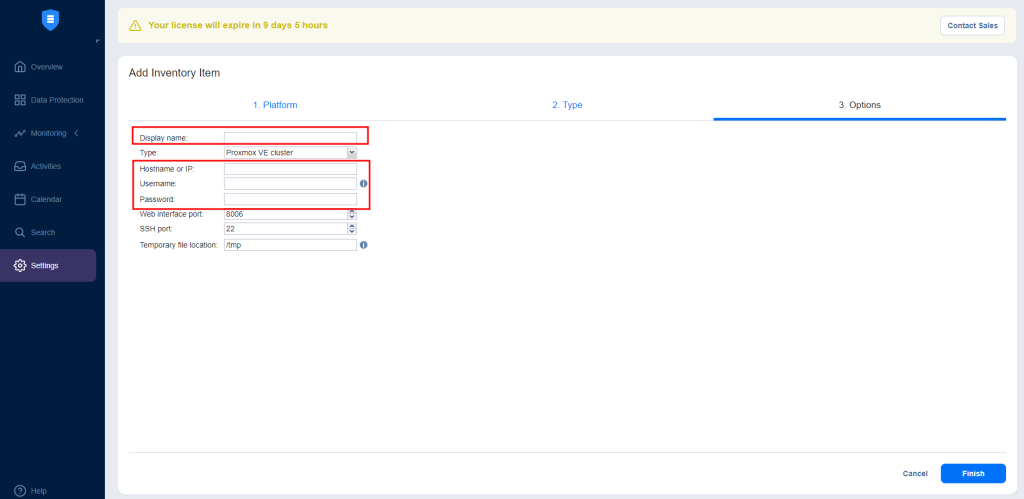
Enter Display name, Hostname or IP, Username and Password. Click Finish.
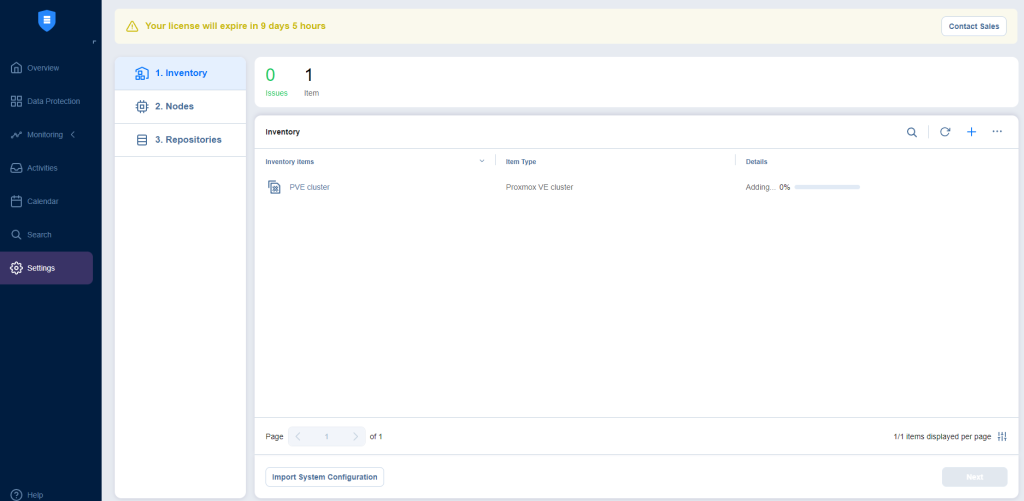
You will notice that Proxmox PVE is being added to Nakivo Backup and Replication.
Now configure Nodes and Repositores. Once complete you can create your first backup job.
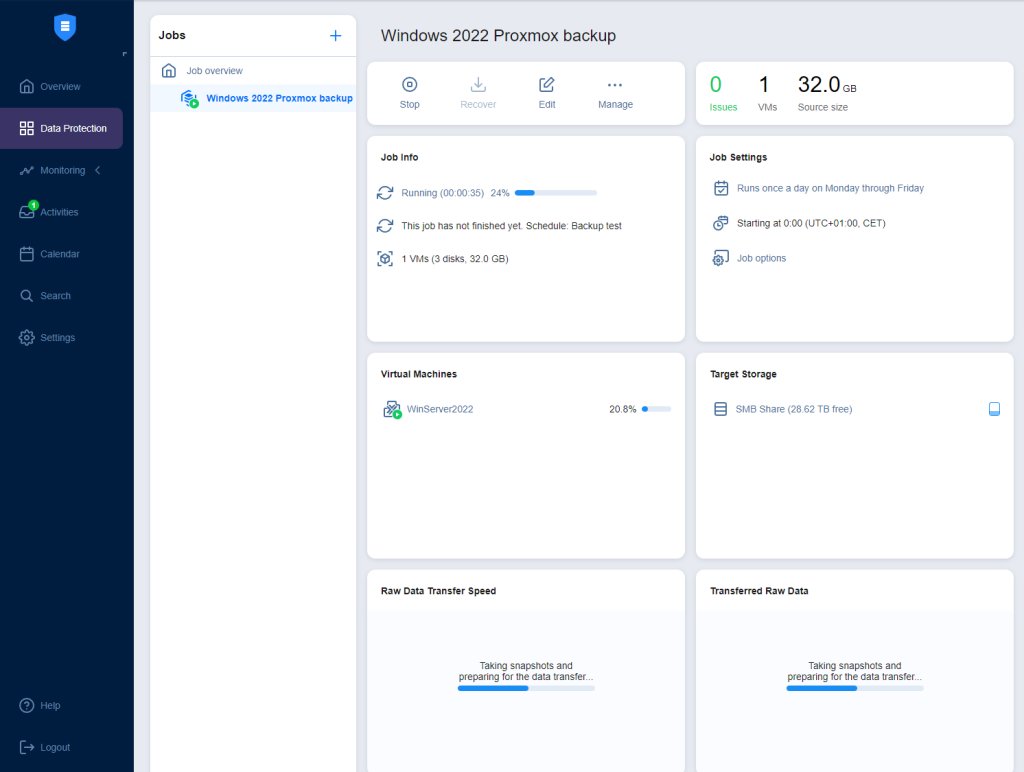
Conclusion
Nakivo Backup and Replication for Proxmox is an excellent solution that combines ease of installation, efficient resource usage, and reliable performance. Its user-friendly interface and robust features make it a great choice for protecting your Proxmox environment. Additionally, its competitive pricing makes it an attractive option for both small-scale labs and larger enterprise deployments.


Napsat komentář